
Last updated October 16, 2026
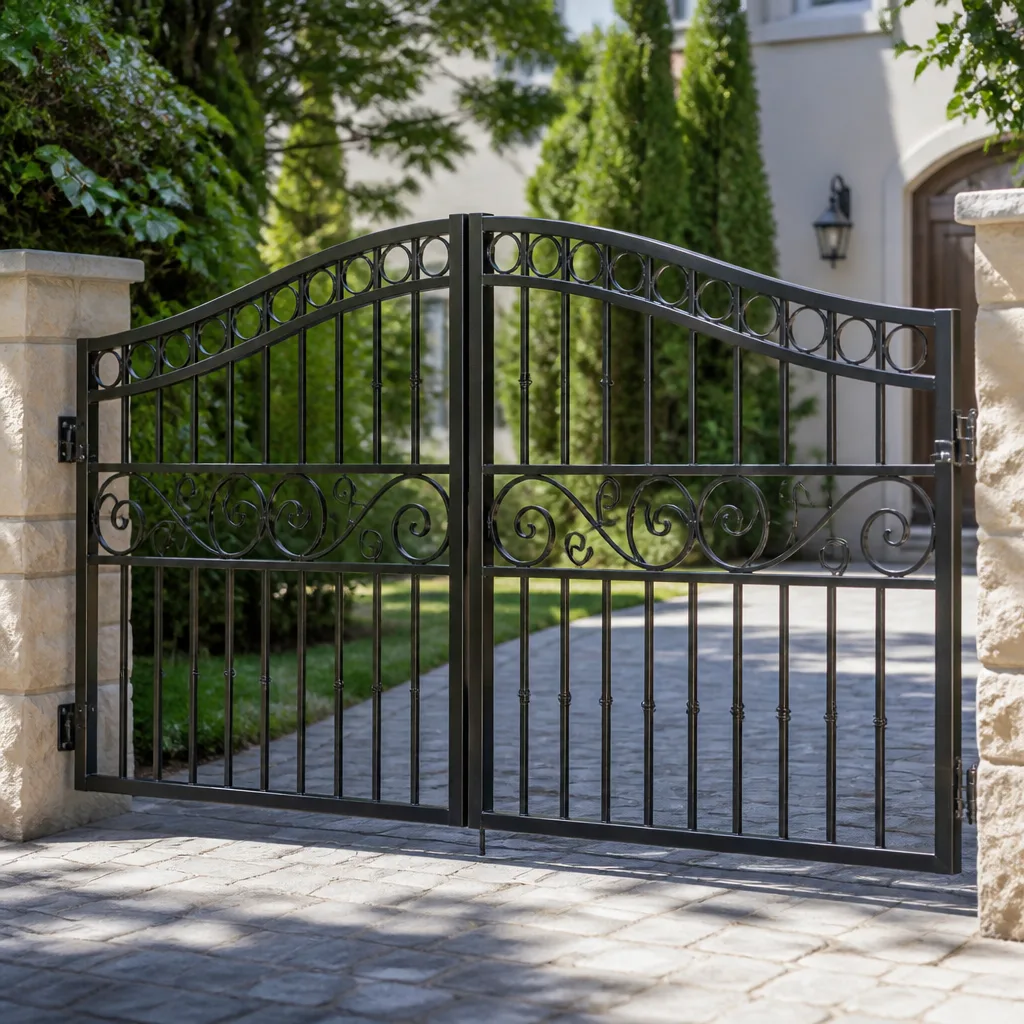 Wrought iron
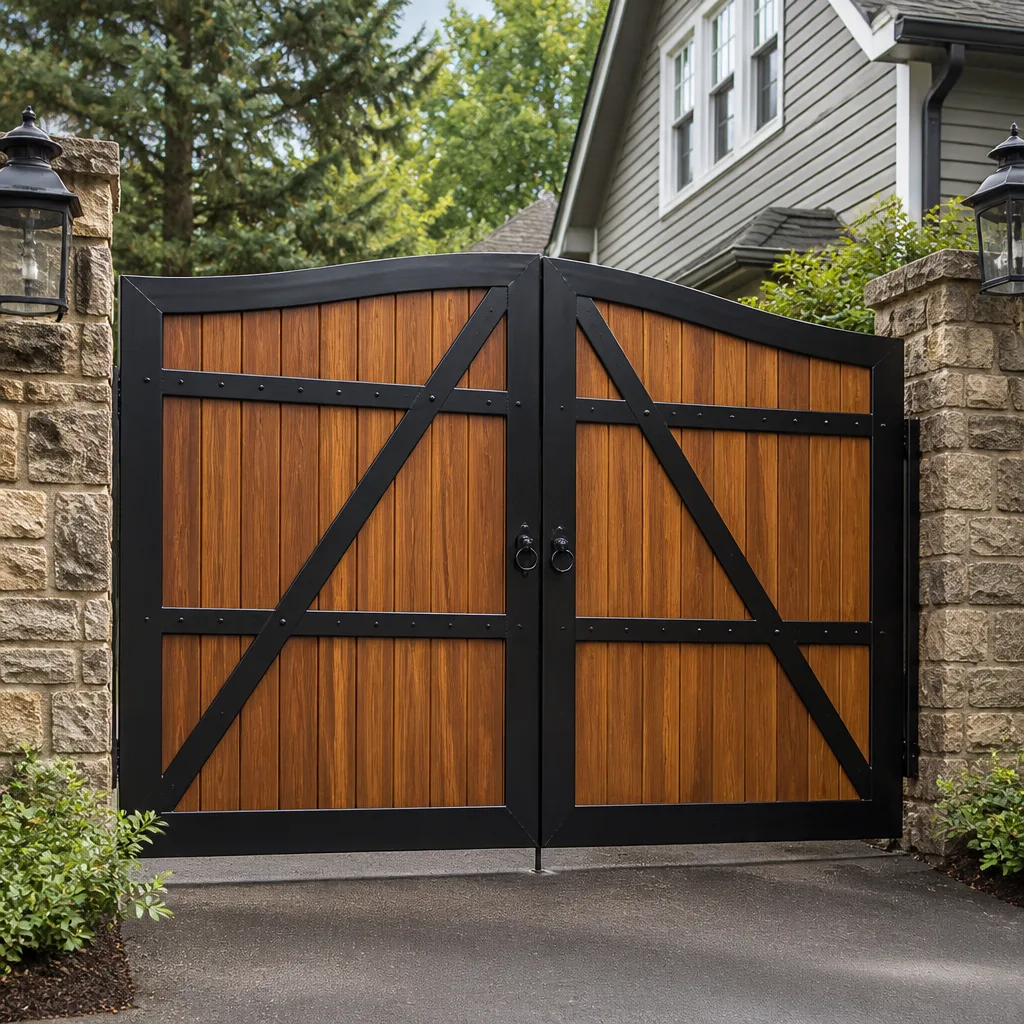 Wood & steel frame
 Farm & ranch
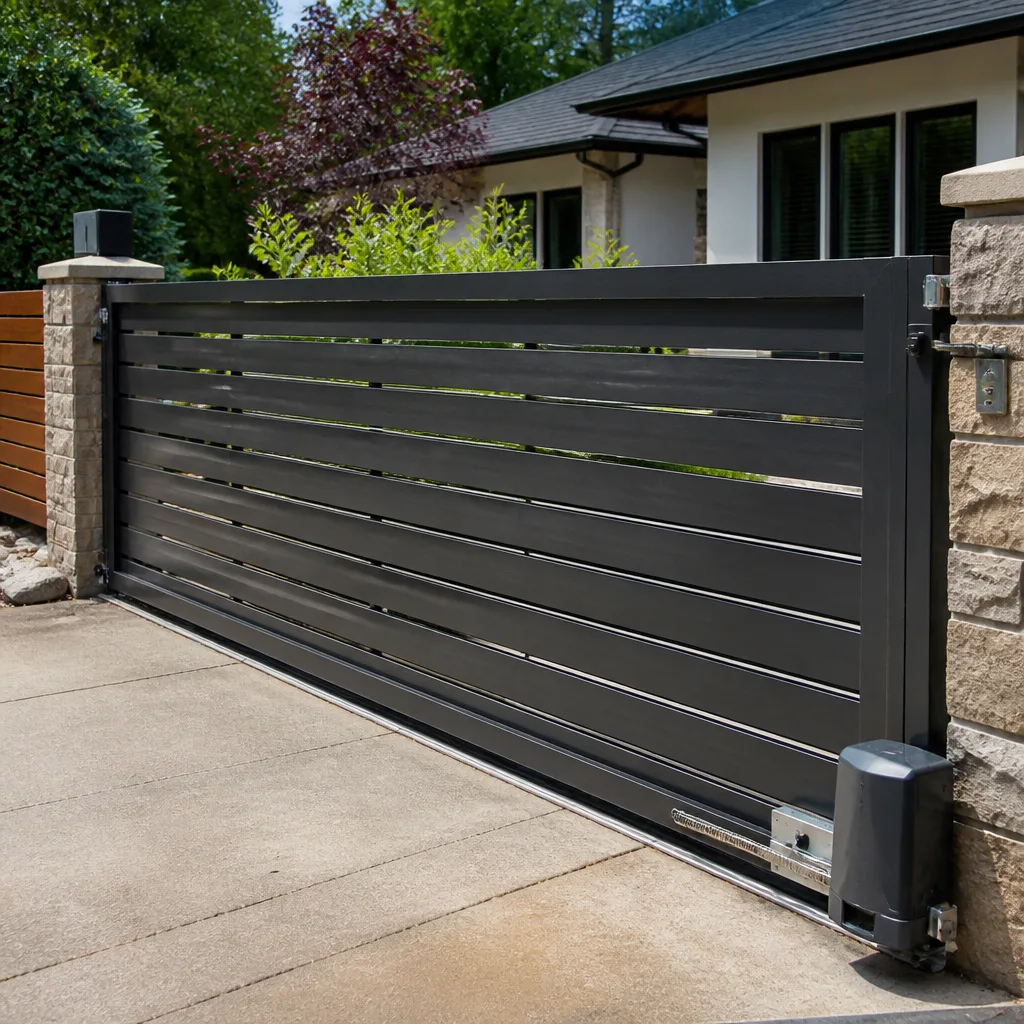 Sliding driveway gates
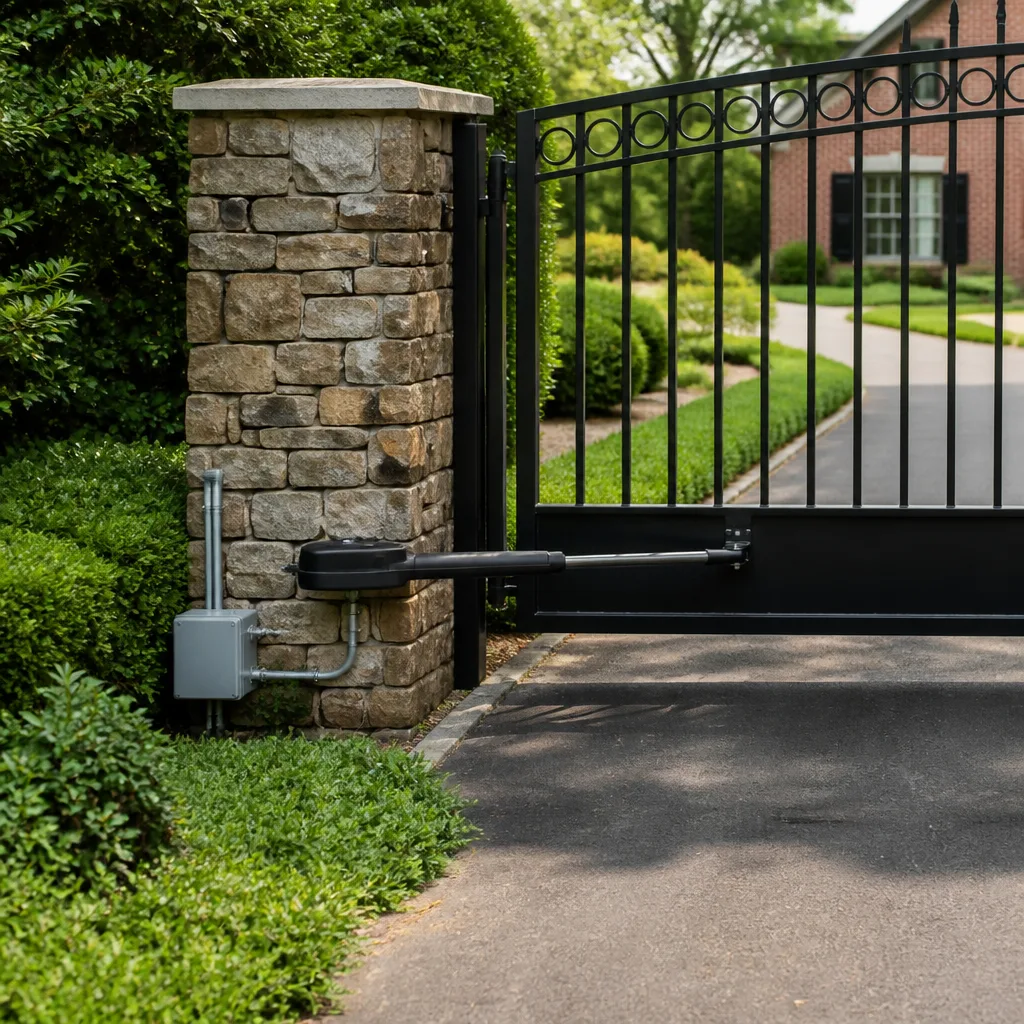 LiftMaster operators
Free on-site gate assessment - hinges, posts, and your LiftMaster or Nice gate operator checked before anything is quoted
The assessment is free and the quote is the invoice.
Get your free estimateGate Repair Maintenance Checklist for Santa Clarita Homeowners
A gate hinge doesn’t fail suddenly. It fails after about 90 days of a squeak most homeowners mentally file under “annoying but fine.” By the time the gate sags, the hinge plate has already pulled away from the post, and what was a $95 hinge job is now a $400 post repair. This guide is different from the generic checklists you’ll find elsewhere. We’re going to tell you what to listen for, what to measure, and what to look at so you catch a failing part before it takes something else down with it. Santa Clarita’s specific mix of hot summers, Santa Ana winds, and iron-heavy gate construction creates failure patterns we see every week, and this guide is built from those patterns.
Styles & brands we work with
Quick Answer
An effective monthly gate maintenance routine for Santa Clarita homeowners takes about 15 minutes and covers five areas: listening for new noises during operation, watching the gate’s movement speed and alignment, checking hinge and post hardware for rust or movement, cleaning and testing the safety sensors, and checking the backup battery voltage on your gate motor. The two checks that catch the most problems are the 60-second noise test and the 60-second alignment check, which together surface about 70% of gate issues before they become emergency repairs.
Table of Contents
- The 15-Minute Monthly Checklist
- What Your Gate Is Telling You: A Sound Guide
- Lubrication in Santa Clarita: What to Use and What to Skip
- Backup Battery Testing: LiftMaster and Viking Without Tools
- Alignment and Gap Tolerances: The Pass/Fail Numbers
- The Maintenance Log: What to Record and Why It Matters
- Common Mistakes to Avoid
- When to Call a Professional
- Frequently Asked Questions
- The Bottom Line
Before we get into the checklist itself, it helps to understand what you’re up against. A gate in Santa Clarita lives outdoors in conditions that punish metal. Summer temperatures routinely pass 100 degrees. The air is dry most of the year, but the brief winter rain storms create the exact wet-dry cycle that accelerates rust on unprotected steel. Santa Ana winds push dust and grit into hinge barrels and slide tracks. A gate in Valencia faces slightly different wear than one in Canyon Country or Saugus, but the fundamentals are the same: heat expands metal, grit grinds it down, and moisture attacks it when you’re not looking.
This guide is written for homeowners who want a maintenance routine they can actually follow, not a hypothetical list from a manual. Every check below has a pass or fail condition. If it passes, you move on. If it fails, you know exactly what to look at next. And if you’d rather hand the whole thing to someone who looks at gates all day, Warden Gate Repair Santa Clarita handles this kind of work year-round.
The 15-Minute Monthly Checklist
Here is the full routine we recommend for Santa Clarita homeowners. It takes about 15 minutes once you know what you’re doing. Do it on the first Saturday of the month, or tie it to another monthly habit like changing your HVAC filter. The goal is consistency, not perfection.
The Full Monthly Routine
- The 60-second noise test. Stand next to the gate while it opens and closes one full cycle. Close your eyes. Listen for any sound you haven’t heard before: a new squeak, a grinding note, a clicking that wasn’t there last month, or a change in the motor’s pitch. A gate that sounds different is a gate that’s telling you something changed.
- The 60-second alignment check. Watch the gate as it closes. Does it land in the same place every time? Look at the gap between the gate and the latch post. Has it changed since last month? A wider gap on one cycle means something shifted.
- Hardware walk-around. Look at every hinge, every bolt head, every weld point you can see. You’re looking for rust, for hairline cracks, for a bolt that’s backed out a thread or two, or for dark streaks running down from a hinge pin. Dark streaks mean the metal inside is wearing and shedding.
- Sensor check. Find the photo eyes or safety edge on your gate. The photo eyes are the two small boxes facing each other near the bottom of the gate opening. Wipe the lenses with a dry cloth. Then test the safety reverse: put a piece of cardboard in the gate’s path and close it. The gate should stop and reverse before touching the cardboard. If it doesn’t, stop using the gate and call for service.
- Battery check. If your opener has a backup battery, find the voltage readout or test button. We cover this in detail in the battery section below. A battery that reads below 12.4 volts on a LiftMaster or Viking unit is a battery that will not save you during a PSPS outage.
- Track and roller visual. For slide gates, look at the track. Remove leaves, rocks, dirt, or anything else sitting in the path. Look at the rollers: they should roll, not slide or grind.
What a Pass Looks Like
- No new sounds during operation
- Gate lands in the same spot every cycle
- No visible rust on hinge hardware
- Sensors work and reverse the gate
- Battery reads 12.4 volts or higher
- Track is clean and rollers roll freely
If everything passes, you’re done for the month. Write it down in your maintenance log and go enjoy your Saturday. If anything fails, note what you saw and decide whether it’s a DIY fix or a call to electric gate repair in Santa Clarita.
What Your Gate Is Telling You: A Sound Guide
The single most useful diagnostic tool you have is your ear. Gates speak in a fairly consistent language, and once you learn the basic vocabulary, you’ll catch most problems months before they become expensive. Here are the specific sounds we hear most often on Santa Clarita gates and what each one means.
Squeaks and Squeals
A high-pitched squeak during movement means metal is rubbing on metal without lubrication. On a swing gate, this is almost always a hinge pin or a hinge plate. On a slide gate, it’s usually the rollers or a dry chain. The squeak itself isn’t the problem. The problem is that the metal surfaces are wearing against each other, which means the hinge or roller has already started to degrade. If you catch it in the first month or two, a proper lubricant often solves it. If you let it go for a season, the part may need replacement.
Grinding or Gravel Sounds
A grinding sound means something has already failed. Metal grinding on metal without a lubricant makes a screech. A grinding, gritty sound means there’s contamination in the moving parts: sand, dust, or metal shavings. In Santa Clarita, we see a lot of sandy grit from the Santa Ana winds getting into slide tracks and hinge barrels. This sound tells you the moving part is being sanded down from the inside. Do not add more lubricant on top of it; the grit needs to be cleaned out first.
Clicking or Knocking
A rhythmic click or knock that repeats as the gate moves usually points to a loose or damaged component: a chain link that’s failing, a gear tooth that’s chipped, or a wheel bearing that’s going out. The timing of the click tells you a lot. If it clicks once per revolution, it’s probably a gear or wheel. If it clicks at a specific point in the gate’s travel, it’s probably a bent track section or a damaged chain link.
A Change in Motor Pitch
Your gate motor has a baseline sound it makes when it’s healthy. When the motor starts to sound strained, like it’s working harder than it used to, that’s usually a mechanical problem downstream: a gate that’s getting harder to move. Binding hinges, a misaligned track, or a gate post that has shifted with the soil. In Santa Clarita’s alluvial soil, posts can settle over time, and a settling post changes the gate’s geometry just enough to make the motor work harder. That extra strain shortens the motor’s life.
A Hum with No Movement
If the motor hums but the gate doesn’t move, the capacitor or the drive mechanism has failed. Turn the system off at the breaker and call for service. Continuing to activate a humming motor can burn it out entirely.
The 60-second noise test catches all of these because it forces you to actually listen once a month instead of tuning out the gate’s sounds the way you tune out a freeway you drive every day. That’s the entire point: your ear is the earliest warning system you have.
Lubrication in Santa Clarita: What to Use and What to Skip
Santa Clarita’s climate makes lubrication more important than it is in coastal cities, and it also makes some common advice actively wrong. The dry heat and wind-blown dust mean the product you use matters a lot. Here’s the practical version.
The Two Products That Actually Work
For hinge pins and pivot points: Use a heavy-duty lithium grease or a synthetic waterproof grease. Apply a small amount to the hinge pin itself, then work the gate back and forth a few times to draw the grease into the barrel. A little goes a long way. Too much grease attracts dust and turns into a grinding paste.
For chains and slide tracks: Use a dry-film lubricant or a thin silicone spray. These leave a slick coating that doesn’t pool or attract grit. In the summer, when Santa Clarita temperatures climb over 100, a thick grease on a chain turns liquid and drips off. A dry film stays put.
What to Avoid
WD-40 is not a lubricant for gate hardware. It’s a water displacer and a light solvent. It works fine for freeing a stuck bolt, but on a gate hinge or chain it evaporates in days and leaves the metal unprotected. Worse, on powder-coated iron gates, repeated WD-40 use can break down the powder coat over time, which accelerates corrosion on the underlying steel. We see this on powder-coated gates across Santa Clarita, particularly in older Valencia neighborhoods. The coating starts to flake away around the hinges, and water gets into the steel.
Motor oil and cooking spray. These attract dust and gum up in heat. Skip them.
Summer vs. Winter
In summer, use less lubricant and apply it more often. The heat thins anything you put on, so you want a light coat every two months. In winter, when the weather is cooler and occasional rain adds moisture, switch to a slightly heavier grease on steel parts and check for rust more often. The wet-dry cycle after winter rain is when unprotected steel starts to bloom with surface rust, and that rust starts in the places you can’t easily see: inside the hinge barrel, behind the bolt heads, under the bottom rail.
Frequency
Lubricate hinge pins every two months in summer and every three months in winter. Chains get lubricated monthly if the gate cycles more than 10 times a day, which is common for homes where both cars leave in the morning and return in the evening. Slide track rollers get cleaned monthly and lubricated every three months.
If you’re not sure which product is right for your specific gate, or you have a powder-coated gate and you’ve already used the wrong product on it, gate repair in Santa Clarita is a call away. We deal with this exact situation regularly.
Backup Battery Testing: LiftMaster and Viking Without Tools
Santa Clarita sits in Southern California Edison and PG&E territory depending on the neighborhood, and PSPS (Public Safety Power Shutoff) events are a reality during fire season. If your gate motor has a backup battery and that battery is dead, your gate becomes a manual operation at exactly the moment you’d rather have it working. Here’s how to test it without any tools.
The LiftMaster Method
LiftMaster gate operators with a backup battery system have a battery status light on the control board or the external indicator panel. If the light is green, the battery is charged and healthy. If it’s yellow or red, the battery is either charging or failing. The more precise method: unplug the opener from its power source or flip the breaker off, then run the gate one full cycle on battery power alone. A healthy battery will open and close a standard gate once without slowing down. If the gate moves noticeably slower on battery power, or if it stalls partway through, the battery is on its way out.
The Viking Method
Viking operators with battery backup have a small battery test button on the control board, typically labeled “BATTERY TEST.” Press it and the system will run a self-test that checks the battery’s charge and reports back with a series of LED flashes. Two flashes means good, three or more means low voltage or a failed cell. If you don’t have the manual handy, the simplest field test is the same as the LiftMaster method: cut AC power, run the gate, and watch the speed.
The Voltage Threshold
A 12-volt gate battery reads 12.6 to 12.8 volts when fully charged and healthy. Below 12.4 volts, the battery is weak and may not deliver a full gate cycle during an outage. Below 11.8 volts, the battery is effectively dead and you’re relying on a paperweight. If you have a multimeter and can reach the battery terminals safely (AC power disconnected), 12.4 is the line. Below that, order a replacement.
The Santa Clarita Angle
Batteries are chemical devices, and heat kills them faster than cold. Santa Clarita summers shorten battery life more than the averages you see in manufacturer literature, which are usually based on mild-weather testing. If your backup battery is three years old and it lives in a metal gate operator box that bakes in the afternoon sun, assume it needs replacement even if the status light still reads green. In our experience, three to four years is the real replacement interval in this climate.
If your battery fails the test, or you’d rather have a professional check the whole opener while you’re at it, gate motor repair in Santa Clarita covers battery diagnostics and replacement alongside full operator service.
Alignment and Gap Tolerances: The Pass/Fail Numbers
Most homeowners notice a gate problem when the gate starts to look wrong: it sags, it doesn’t close all the way, or it sits at an angle. By the time it looks wrong, the underlying problem has been developing for months. Here are the specific measurements and visual cues that catch alignment problems early, when they’re cheap to fix.
The Latch Gap
Watch the gate close and look at the gap between the gate edge and the latch post. On a well-aligned swing gate, that gap is consistent from top to bottom and measures roughly a quarter inch to a half inch. If the gap is wider at the bottom than the top, the gate is sagging, which means a hinge is worn or a post has moved. If the gap closes completely at the bottom while the top still shows light, the gate has racked. Either way, that’s a fail.
Gate Swing Response Time
Time your gate from the moment you press the remote or keypad to the moment the gate starts moving. On a healthy system, the response is under one second, typically a fraction of a second. If there’s a noticeable delay, say two seconds or more, the receiver, the control board, or the remote itself is struggling. Intermittent delays point to radio interference or a failing capacitor. A consistent delay usually means the control board is slowing down.
Slide Gate Track Clearance
For slide gates, look at the space between the bottom of the gate and the top of the track. It should be even for the entire run. If the gate dips or rises at one point in its travel, the track has a low or high spot, or a roller is wearing flat. Run your hand along the track (with the gate off) and feel for bumps, bends, or rough patches. A track that’s straight feels smooth.
Post Settlement
Santa Clarita sits on alluvial soil that shifts with moisture changes. After a wet winter, a gate post can settle a quarter inch, which changes the gate’s geometry enough to throw off the latch and strain the hinges. Check the post base twice a year for a visible gap between the post and the concrete pad, or a gap between the concrete and the surrounding soil. Either one means the post has moved. If the post is moving, lubricating hinges won’t fix the problem; the post needs to be reset and re-anchored.
These measurements are simple, and they take 60 seconds in total each month. The latch gap and the post check are the two that catch the most problems, because they’re measuring the structural foundation of the gate rather than surface symptoms.
The Maintenance Log: What to Record and Why It Matters
When a gate fails and a repair tech arrives, the first question is always the same: what has this gate been doing? Most homeowners can’t answer that question in useful detail. They remember the gate “started making noise at some point” but don’t remember when, or they remember it “seemed slower” but can’t say whether the change was gradual or sudden. A maintenance log solves this, and it takes 30 seconds per month-one of many tips you’ll find in our more guides & resources.
What to Record
- Date and time of each check
- Sounds: anything new or changed since last month
- Speed: any change in how fast the gate opens or closes
- Alignment: any change in latch gap or track clearance
- Battery voltage if your system displays it
- Lubrication: what you applied and when
- Any irregular behavior: the gate reversed unexpectedly, the remote didn’t work on the first press, the keypad needed two tries
Why It Matters
When we arrive at a gate with a maintenance log in hand, we can skip the diagnostic dead ends and go straight to the problem. More importantly, the log reveals patterns. A battery that drops from 12.7 to 12.5 over three months is failing slowly. A battery that drops from 12.7 to 11.9 in a month is failing fast. The difference tells us whether you have a battery problem or a charging system problem. A hinge that needed lubrication six weeks after the last application tells us the hinge is wearing internally, not that you forgot to lubricate it.
The log is also your documentation for warranty claims, homeowner’s insurance, and if you ever sell the home, it’s a selling point. A Santa Clarita home with a documented gate maintenance history is a home where the buyer doesn’t have to wonder about deferred maintenance.
A Simple Template
You don’t need a spreadsheet. A notebook in the garage works fine. Write the date, a single line about what you observed, and whether anything failed. Here’s what a useful entry looks like:
June 7, 2026. Noise test: high-pitched squeak from bottom hinge, new this month. Alignment: latch gap wider at bottom by about 1/8 inch. Battery: 12.6V. Lubricated bottom hinge with lithium grease. Squeak gone. Will watch latch gap next month.
That’s 30 seconds of writing, and it gives us everything we need if the bottom hinge fails next month or next year.
Common Mistakes to Avoid
- Ignoring a squeak because the gate still works. A squeak is metal on metal. By the time the gate sags or jams, the worn hinge has been damaging the post for months. The $95 hinge becomes a $400 post repair, and that’s the cheapest version of this story.
- Using WD-40 on gate hardware. It washes off in days and accelerates corrosion on powder-coated surfaces. Use lithium grease on hinges and a dry-film or silicone lubricant on chains and tracks instead.
- Skipping the safety sensor test. The sensors are the difference between a gate that reverses and a gate that doesn’t. We’ve seen the consequences of gates with dead sensors. Test them monthly with a cardboard box. If they don’t reverse the gate, disable the auto-close feature and call for service.
- Assuming the backup battery is fine because you haven’t had an outage. Backup batteries fail silently, and the only way to know is to test them. In Santa Clarita, where PSPS events happen during fire season, a dead backup battery is a gate you’ll be pushing open by hand when you least want to.
- Lubricating without cleaning first. Putting fresh grease on top of dust and grit turns the lubricant into a grinding compound. Wipe the surface clean, then apply. This is especially true after Santa Ana wind events, which coat gates in fine sand.
- Adjusting the gate yourself instead of addressing the cause. If a gate stops closing properly, the cause is usually a worn hinge, a moving post, or a misaligned track. Adjusting the limit switch or the latch position masks the symptom for a few weeks while the real problem gets worse and more expensive.
- Not keeping a maintenance log. Without documentation, every service call starts from zero. A 30-second monthly log entry gives a repair tech the failure history and cuts the diagnostic time in half.
When to Call a Professional
Some gate work is genuinely dangerous, and the line is bright. High-tension springs on older swing gates store enough energy to break bone if they let go. Gate motors run on line voltage and can deliver a fatal shock if opened by someone who doesn’t know what they’re looking at. Slide gates weigh hundreds of pounds and will crush whatever is in their path if a safety system fails. If your gate has a broken spring, a motor that hums but won’t move, a sensor system that won’t reverse, or a post that has visibly moved, that’s the line. Stop using the gate and call a professional. Warden Gate Repair Santa Clarita offers free estimates in Santa Clarita, and every job includes a written price before any work starts. Call (661) 425-9011.
Frequently Asked Questions
Lubricate hinge pins every two months during summer and every three months during winter. In Santa Clarita’s dry heat, lubricants thin and dissipate faster than they do in coastal climates, so the summer interval matters more. Chains on frequently used gates should be lubricated monthly with a dry-film product.
We see more hinge and post failures than anything else. The combination of heavy iron gates, hot dry summers that expand and contract metal, and alluvial soil that shifts with winter moisture puts constant stress on hinge hardware. The failure almost always starts as a squeak that gets ignored.
Yes. Cut the AC power to your gate operator at the breaker, then run the gate through one full open-and-close cycle on battery power alone. If the gate moves at its normal speed, the battery is healthy. If it moves slowly, stalls, or won’t move at all, the battery needs replacement. A healthy 12-volt battery reads 12.4 volts or higher.
Heat affects both the gate’s metal and the motor’s electronics. Metal expands in high heat, which tightens clearances at hinges and in slide tracks. The motor also runs hotter, which reduces its efficiency. If the slowdown is dramatic or gets worse month over month, there’s usually an underlying alignment or mechanical issue, and continuing to run the gate will shorten the motor’s life.
A basic annual maintenance visit in Santa Clarita typically runs $150 to $300 depending on the gate type and the condition of the hardware. That includes cleaning, lubrication, sensor testing, battery testing, and a written report of anything that looks like it will fail in the next 12 months. The cost is always quoted and agreed before any work starts, and we handle all permits and code requirements. Call (661) 425-9011 for a specific quote on your gate.
Yes. A 30-second monthly log entry documents sound changes, speed changes, battery voltage, and lubrication dates. When something fails, the log tells a repair tech what happened and when, which shortens the diagnostic process and often lowers the repair bill. It’s also useful documentation if you sell the home.
The Bottom Line
A gate that runs for 10 years without a major failure isn’t a gate that never had problems. It’s a gate where someone caught the problems early. The squeak at month one, the widening latch gap at month two, the slow battery at year three: all of these are cheap and easy to address when they first appear. The maintenance routine in this guide takes 15 minutes a month and costs almost nothing. What it buys you is the difference between a $95 hinge repair and a $400 post replacement, between a gate that works during a PSPS outage and a gate you push open by hand. Keep the log, do the checks, and when something fails the pass/fail test, call Warden Gate Repair Santa Clarita at (661) 425-9011. We’ll send a technician whose name and photo you’ll have before they arrive, along with a written price before any work begins.
Written by Cole Rafferty, Owner at Warden Gate Repair Santa Clarita, serving Santa Clarita since 2008.
See the difference
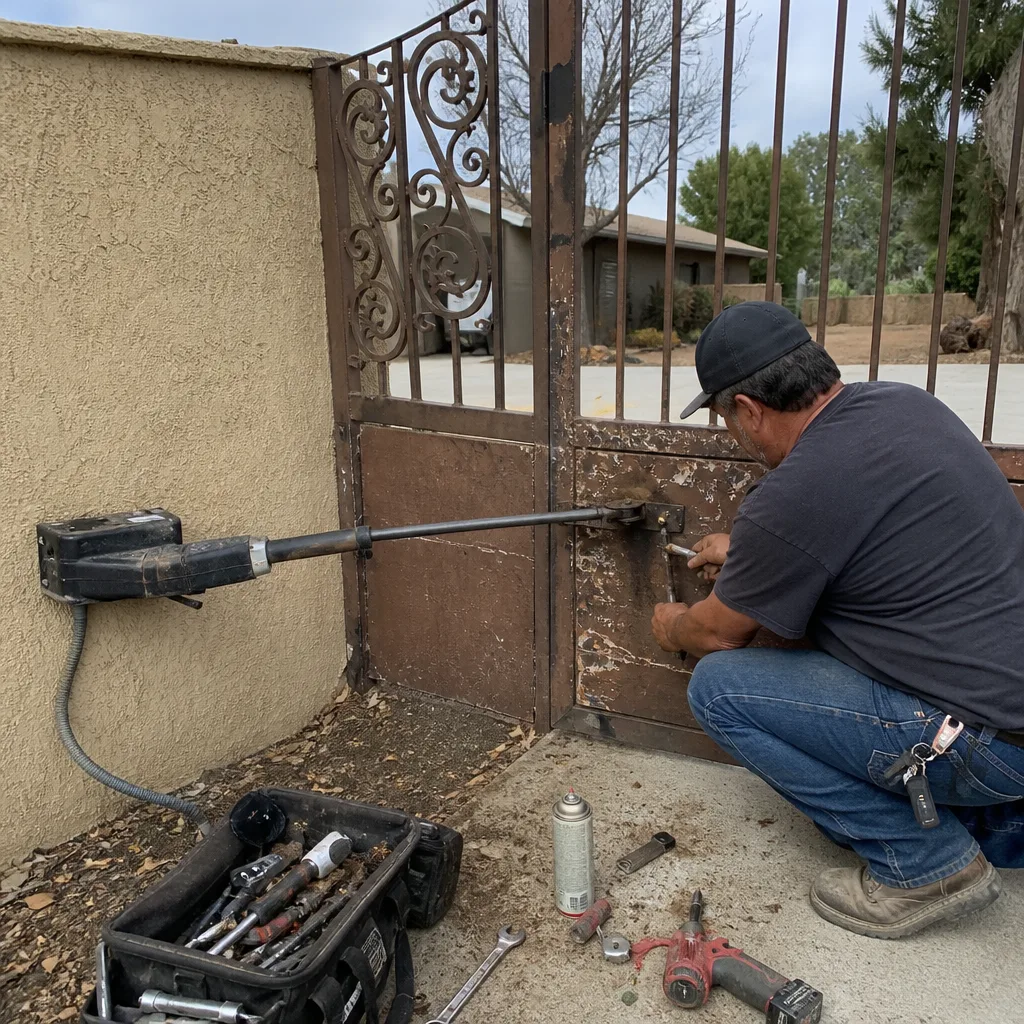 Before
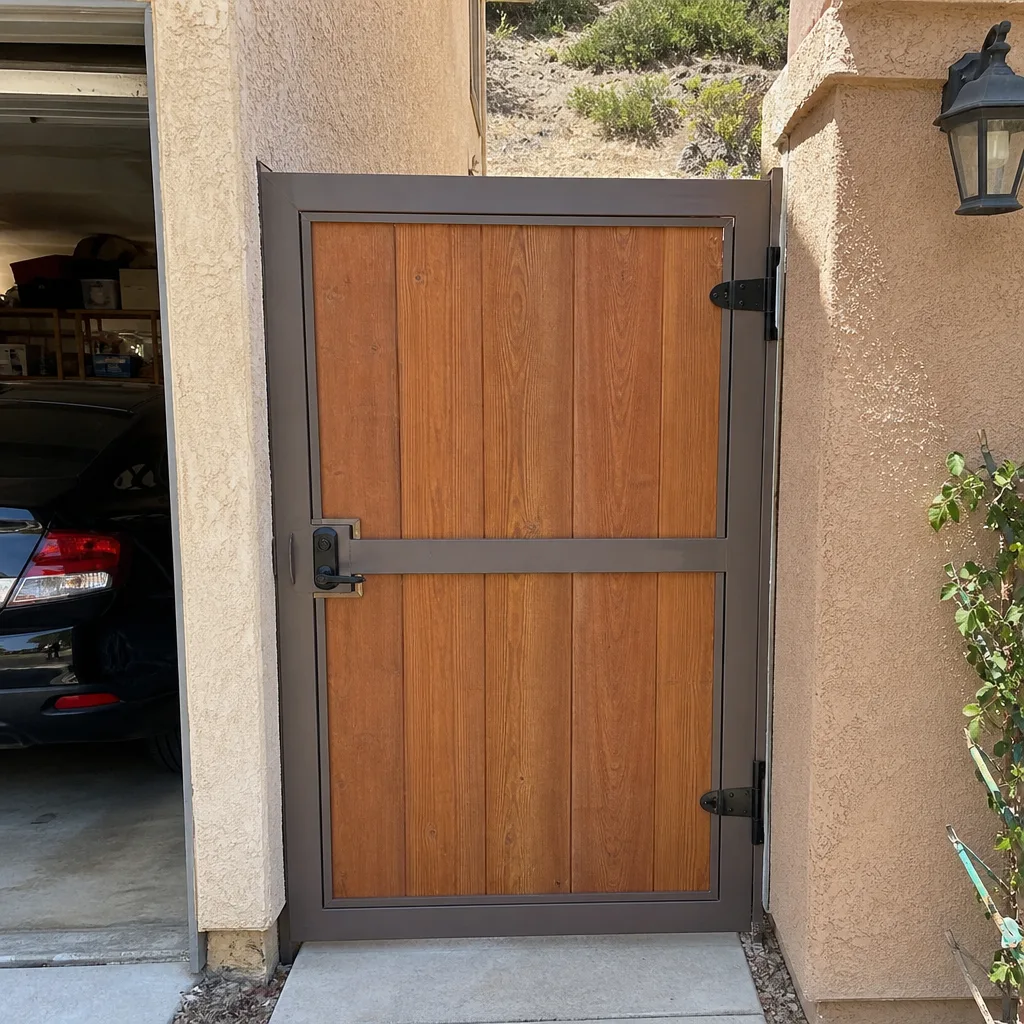
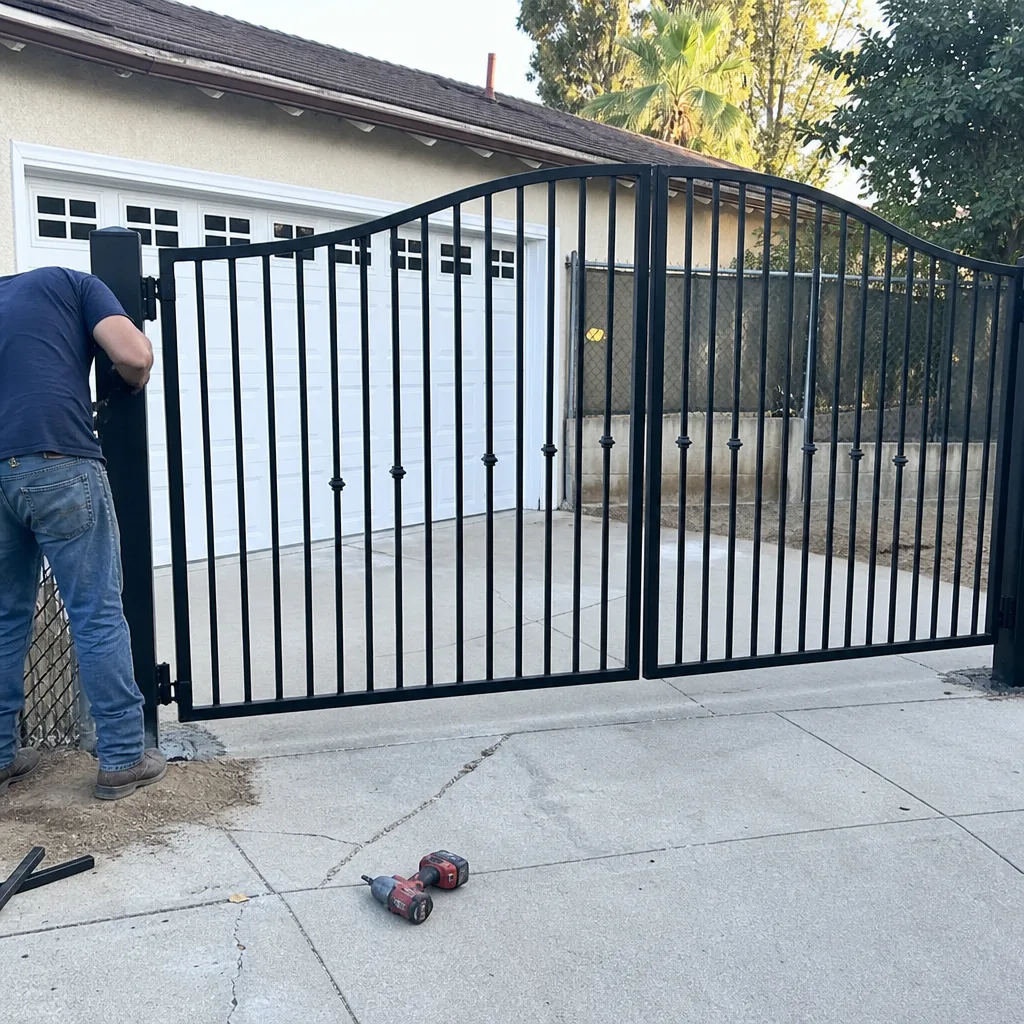 After
After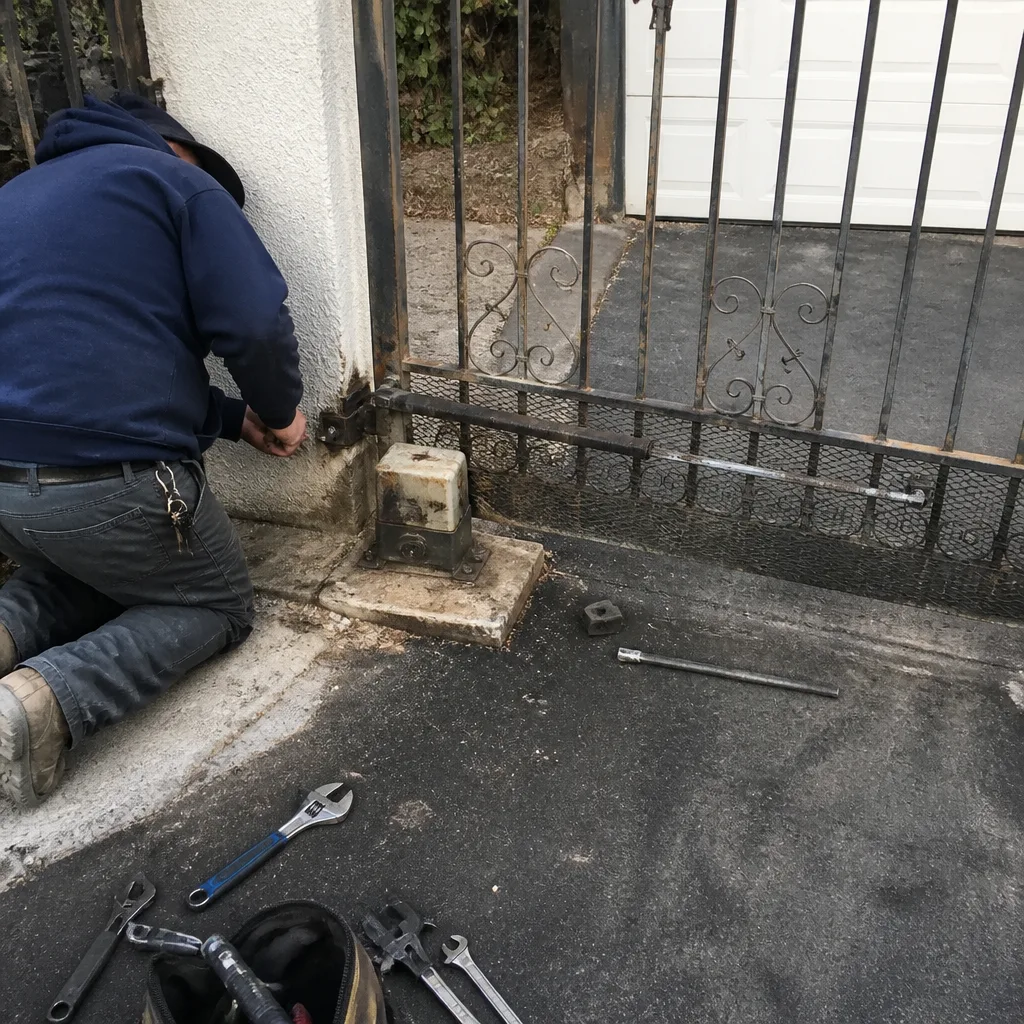 Before
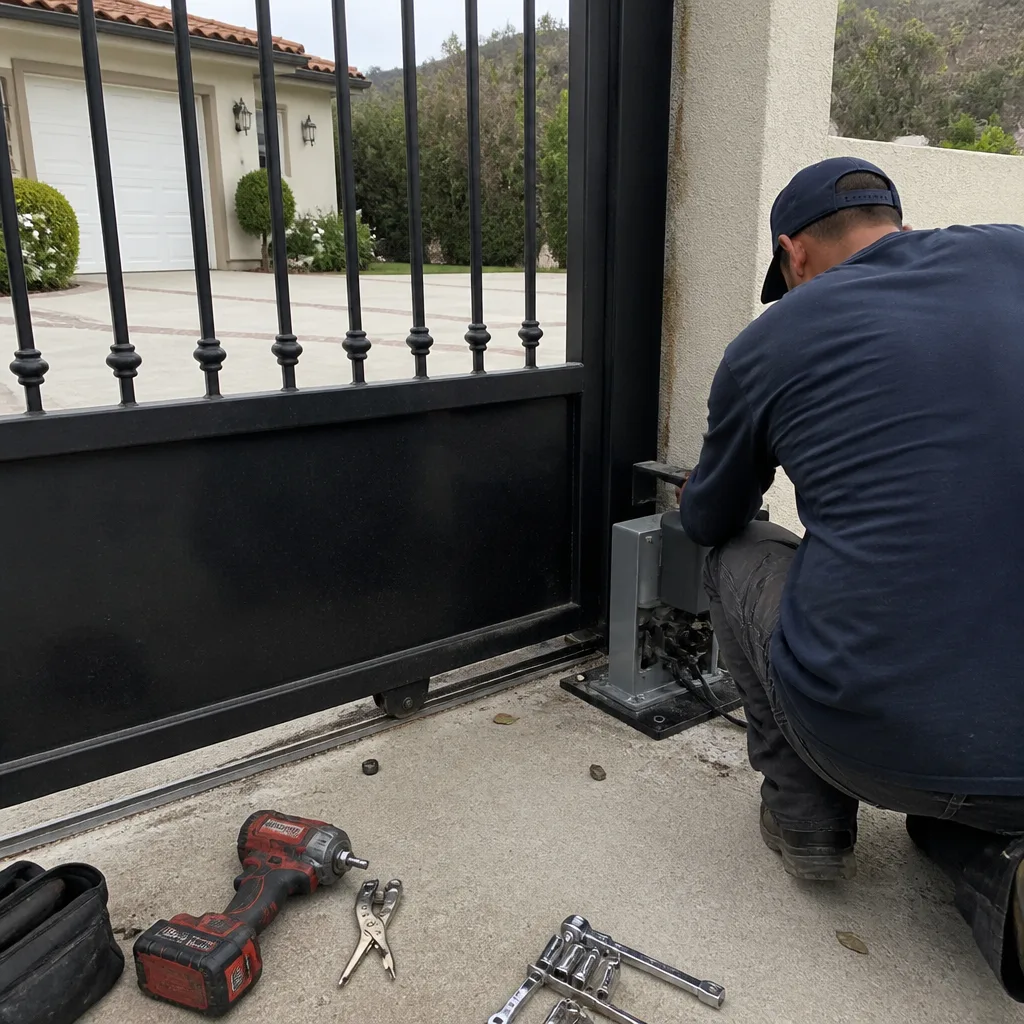 After
After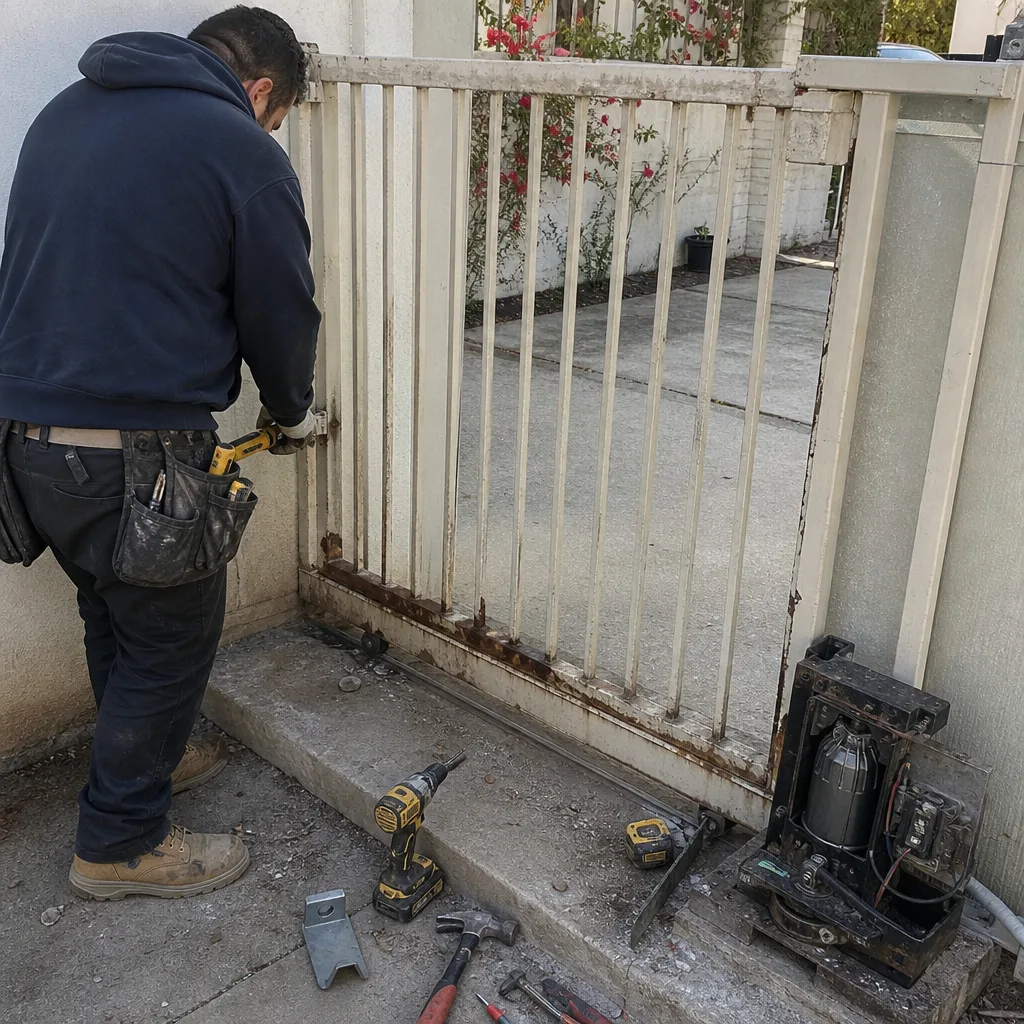 Before
 After
After