
Last updated October 16, 2026
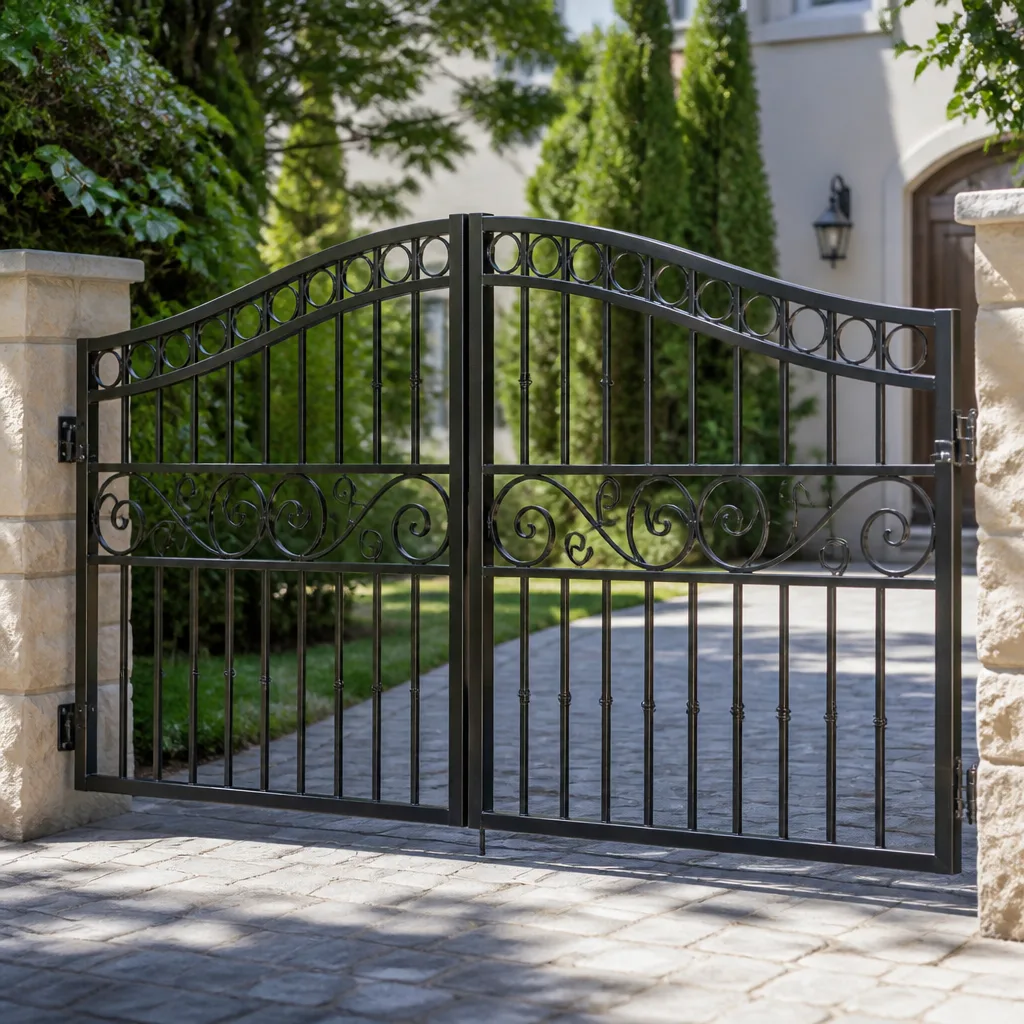 Wrought iron
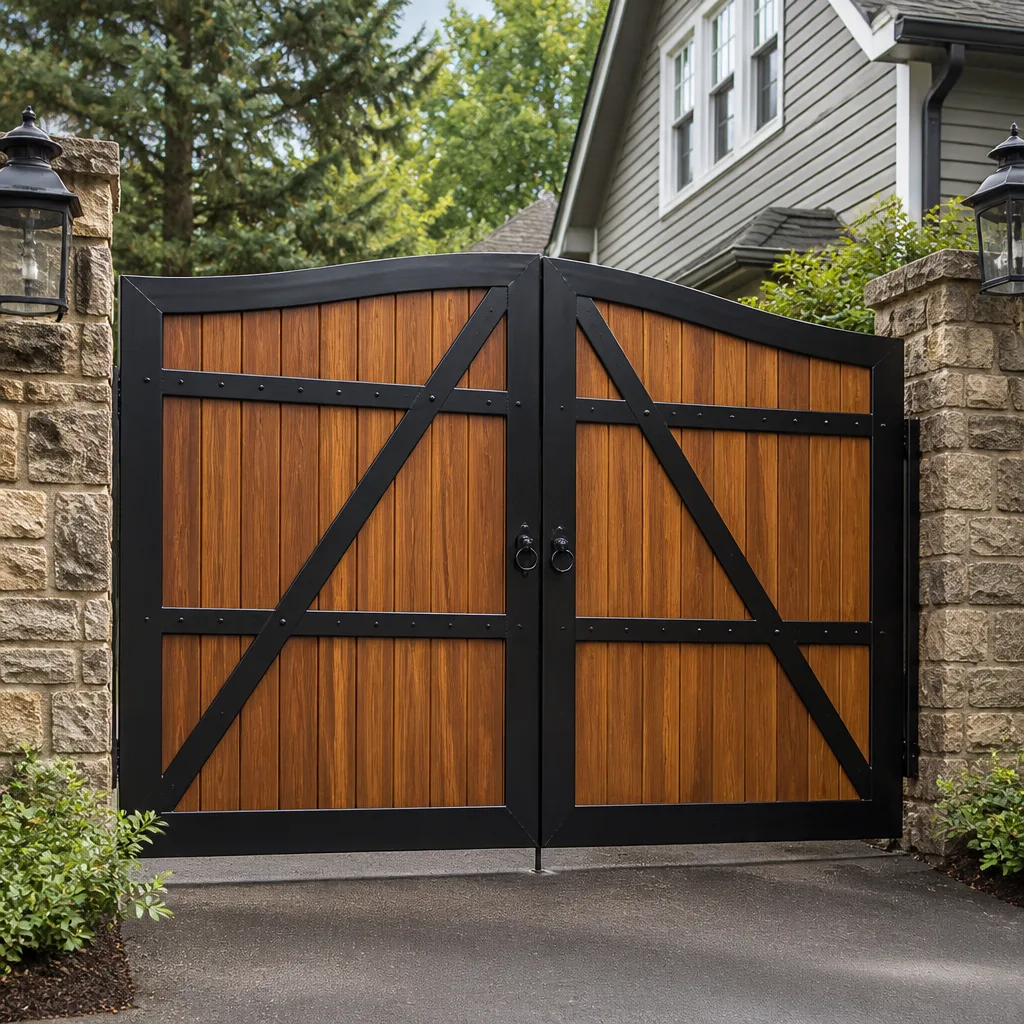 Wood & steel frame
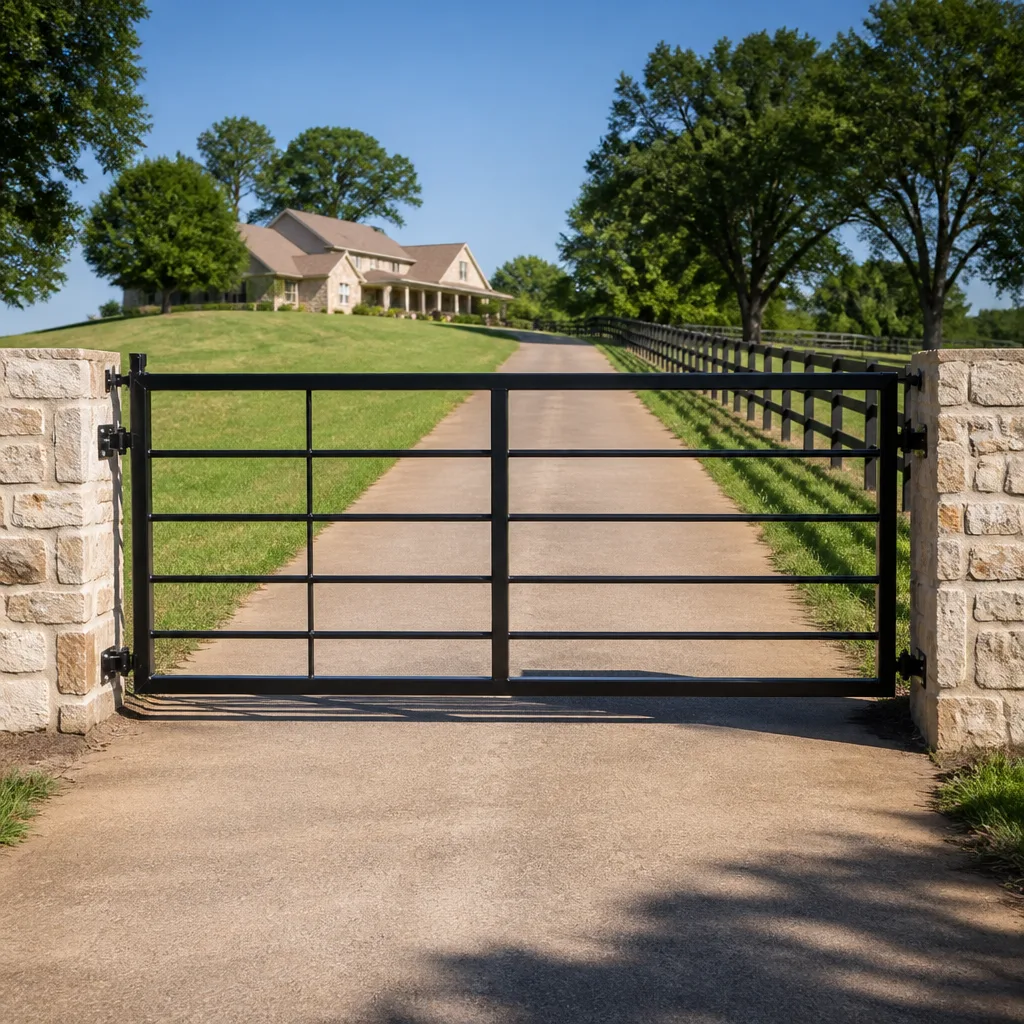 Farm & ranch
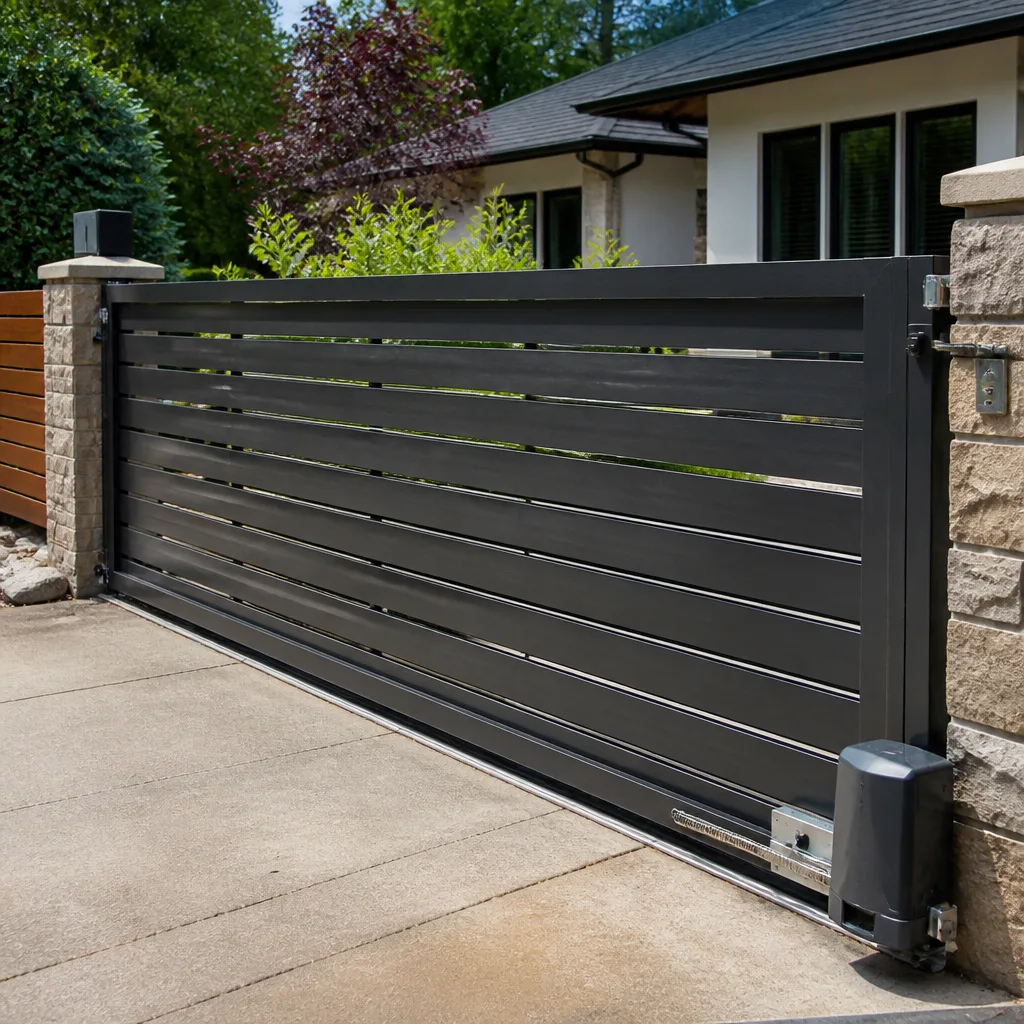 Sliding driveway gates
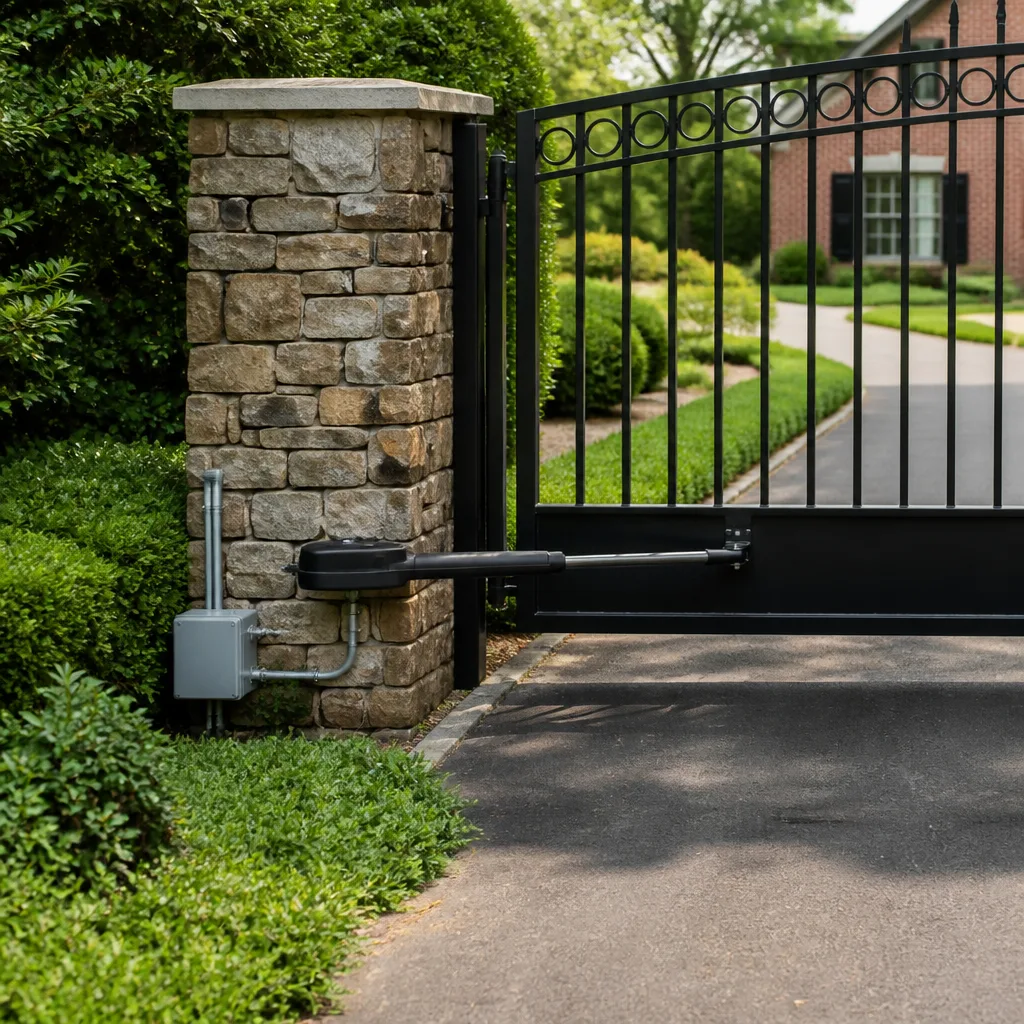 LiftMaster operators
Free on-site gate assessment - hinges, posts, and your LiftMaster or Nice gate operator checked before anything is quoted
The assessment is free and the quote is the invoice.
Get your free estimateDIY vs Professional Gate Repair: The Santa Clarita Homeowner’s Decision Guide
Every year, we get calls from Santa Clarita homeowners standing in their driveway, staring at a gate that’s half-open, half-closed, or making a sound like a garbage disposal eating a spoon. The most common question isn’t “how much will this cost?” It’s “is this something I can fix myself?” The honest answer surprises people: some gate repairs are genuinely safe, quick, and legal to do yourself. Others can void a $400 opener’s warranty, expose you to California liability law, or put you in contact with 120-volt wiring you didn’t know was there. This guide draws that line clearly, so you’ll know exactly which side of it you’re on before you pick up a screwdriver or a phone.
Styles & brands we work with
Quick Answer
You can safely DIY mechanical and low-voltage gate repairs in Santa Clarita: adjusting travel limits, tightening loose hardware, realigning photo-eye sensors, and replacing remote batteries. Anything touching line voltage, control boards, welded structural repairs, or opener installation should be handled by a licensed professional, both because of California electrical code and because brands like LiftMaster, Viking, and Mighty Mule void warranties on DIY electrical work. When in doubt, the diagnostic steps below will help you identify the problem so you can call a Gate Repair tech with specifics and avoid paying for a service call you didn’t need.
Table of Contents
- The 8-Minute Fix: What’s Genuinely Safe to DIY
- The Legal Line: California Code, Permits, and Your Liability
- The Voided-Warranty Trap: What Opener Brands Don’t Tell You
- A Cost-Honest Comparison: DIY vs Professional in Santa Clarita
- Do Your Own Diagnostic Work: How to Call a Tech with Specifics
- The DIY Gate Repair Toolbox: What You’ll Actually Need
- Common Mistakes to Avoid
- When to Call a Professional
- Frequently Asked Questions
- The Bottom Line
The 8-Minute Fix: What’s Genuinely Safe to DIY
Adjusting gate travel limits on a LiftMaster opener: safe DIY, takes 8 minutes, covered in the manual. Replacing the control board on the same opener: touches 120V wiring, creates permit liability, and voids the manufacturer warranty if installed by an unlicensed person. The manual doesn’t tell you which is which. Here’s the list of tasks that fall on the safe side of the line, with the tools and time each one takes.
Approved DIY Tasks (No Permit, No Line Voltage, No Sweat)
- Adjusting travel limits. The gate stops too early or bounces back. You’ll need a flathead screwdriver and 10 minutes. Every opener has limit adjustment screws or a digital menu, and the manual walks you through it. This is the single most common gate issue in Santa Clarita, especially after the temperature swings we get between summer and winter, which cause metal to expand and contract.
- Realigning photo-eye sensors. If the gate starts closing and then reverses for no reason, the sensors are usually misaligned or dirty. A damp cloth and a level take care of it in 15 minutes. Clean the lenses first, then adjust until the indicator lights stop blinking.
- Tightening loose hardware. Gate hinges, bracket bolts, and wheel nuts loosen over time. A socket set and 20 minutes solves most creaks and rattles. Do this quarterly; our Santa Clarita climate is dry, but the temperature fluctuations between day and night still work hardware loose.
- Replacing remote batteries. Before you assume the opener is dead, swap the battery. A CR2032 costs about $4 and takes 2 minutes. If you’ve got a Linear or DoorKing remote, the battery type is printed inside the case.
- Lubricating hinges and rollers. White lithium grease on hinge pins and roller bearings, once or twice a year, keeps a gate from sounding like a haunted house. A can costs $8 and takes 10 minutes. Don’t use WD-40; it’s a cleaner, not a long-term lubricant, and it’ll flush out the grease that was already there.
- Clearing track debris (sliding gates). Leaves, gravel, and the occasional Santa Clarita dust devil deposit all collect in the track. A broom and 5 minutes restore smooth operation. Do this monthly during Santa Ana wind season.
These six tasks cover about a third of the gate problems we see. They’re mechanical, low-voltage, and reversible. If you do them and the gate still misbehaves, you’ve narrowed the problem down considerably, and you’ll save money when you call someone, because the diagnostic work is already done.
The Legal Line: California Code, Permits, and Your Liability
California treats gate repair differently than most home handyman work, and the line is sharper than people expect. The state’s Contractors State License Board regulates gate installation, electrical gate work, and structural gate repair under the C-61/D28 classification, which covers “doors, gates, and activating devices.” Translation: any repair that involves the electrical system of an automatic gate operator, or any structural modification to a gate’s frame or mounting, legally requires a licensed contractor.
What does that mean for a Santa Clarita homeowner with a screwdriver and good intentions? It means this: if you replace a control board yourself, and that board later malfunctions and the gate closes on a person or a car, you’re the one who installed it. Your homeowner’s insurance may not cover the injury because the work was unpermitted and performed by an unlicensed person. In California, an injury caused by a gate or gate opener can trigger premises liability claims in the tens of thousands of dollars.
The permit question is simpler than most people realize. Low-voltage work (photo-eyes, keypads, remote programming) doesn’t require a permit. Line-voltage work (rewiring a motor, connecting a new control board to a 120V circuit, adding a dedicated outlet for an opener) does. The City of Santa Clarita follows the California Electrical Code, and the relevant sections treat gate openers as equipment that must be installed by a licensed electrician or a licensed gate contractor with the proper classification.
Here’s the practical breakdown:
- No permit, no license required: travel limit adjustments, sensor realignment, battery replacement, lubrication, track cleaning, keypad reprogramming (when the keypad is working).
- Licensed C-61/D28 contractor required: control board replacement, capacitor replacement, transformer replacement, motor replacement, wiring repairs beyond the low-voltage side, welding repairs to gate frames, guide roller replacement that requires disassembly of structural components.
- Permit likely required (City of Santa Clarita): any new gate installation where the gate exceeds 7 feet in height, any opener installation that requires a new dedicated circuit, any structural modification to a gate that’s attached to a masonry column.
We’re not saying this to scare anyone away from minor fixes. We’re saying it because the guy at the hardware store won’t tell you, and you won’t find it in the opener manual. Knowing where the legal line sits changes the math on DIY versus professional repair considerably.
The Voided-Warranty Trap: What Opener Brands Don’t Tell You
Here’s the part that genuinely surprises Santa Clarita homeowners: your DIY repair can void the warranty on a $500 opener, even if the repair works. The warranty language from the major brands is specific, and it’s buried in the fine print.
LiftMaster’s warranty excludes “damage caused by installation, repair, or modification by anyone other than a qualified professional.” Viking’s warranty similarly voids coverage if “repairs or alterations are made by anyone other than an authorized service provider.” Mighty Mule’s warranty card states that “improper installation or service by an unqualified person” terminates coverage. In plain English: if you open the control board housing and replace a capacitor yourself, and the opener fails six months later for an unrelated reason, the manufacturer can deny the claim because you were inside the unit.
What’s a “qualified professional”? In warranty terms, it’s a licensed contractor or an authorized service provider. The warranty doesn’t require you to use the brand’s own service network, but it does require proof that the person who performed the work was licensed. For a Santa Clarita homeowner, that means a company that holds the proper California contractor’s license for gate work.
The brands vary in strictness:
- LiftMaster is the strictest. Any internal electrical work performed by an unlicensed individual voids the warranty on the entire opener, not just the replaced part.
- Viking and Mighty Mule are nearly as strict, with explicit language about “unauthorized service.”
- Ghost Controls and Linear are somewhat more lenient on mechanical adjustments but still exclude electrical repairs by unlicensed individuals.
- DoorKing commercial products carry a five-year warranty that’s voided by any aftermarket or DIY modification, period.
The practical takeaway: if your opener is still under warranty (most residential units carry 2-5 years depending on the model), the cost of a DIY board replacement isn’t just the $80 part. It’s the loss of warranty coverage on a $400-$600 opener. A licensed repair typically preserves the warranty, because the work is performed by a qualified professional and documented.
A Cost-Honest Comparison: DIY vs Professional in Santa Clarita
Most DIY-versus-pro articles lean on the same tired math: “the part costs $20 and a repair calls costs $150, so you save $130.” For a detailed look at actual costs, see our Gate Repair Cost Breakdown: The Santa Clarita Homeowner’s Reference for 2026. That math ignores tools, time, risk, and the cost of mistakes. Here’s an honest accounting for the most common gate repairs in Santa Clarita, based on what we see, using real part prices and the flat-rate professional prices that are common in this market.
| Repair | DIY Parts Cost | Tools Needed (If You Don’t Own Them) | Realistic DIY Time | Professional Flat Rate (Santa Clarita) | Honest Verdict |
|---|---|---|---|---|---|
| Travel limit adjustment | $0 | Screwdriver ($8) | 10 min | $85-$120 service call | DIY clearly wins. Every time. |
| Photo-eye realignment | $0 | Level ($12) | 15 min | $85-$120 service call | DIY wins, assuming you can find the sensor alignment screws. |
| Remote control replacement | $25-$45 | None | 10 min programming | $65-$100 (including remote) | DIY wins, but only if your opener model programs easily. Some DoorKing and Viking remotes need a master code you may not have. |
| Capacitor replacement | $18-$35 | Multimeter ($25), soldering iron ($30) | 45-60 min (first time) | $150-$250 | Professional wins. Wrong capacitor can fry the motor. And you’re now inside the warranty-void zone. |
| Control board replacement | $80-$180 | Screwdriver, multimeter, wire strippers ($25) | 1.5-2 hours | $250-$450 | Professional wins. High failure rate on DIY installs, warranty voided, and 120V exposure. |
| Chain or belt replacement (sliding gate) | $60-$120 | Sockets, torque wrench ($30), chain breaker ($35) | 2-3 hours | $350-$550 | Wash. If you’ve done chains on a motorcycle or bicycle, you can do this. If not, the learning curve is steep. |
| Hinge replacement (swing gate) | $40-$90 per hinge | Welding setup ($$$) or bolt-on conversion kit ($50) | 2-4 hours | $250-$400 per hinge, welded | Professional wins for welded hinges. Bolt-on conversion kits are a legitimate DIY option but rarely align as well as welded originals. |
The scenarios where DIY genuinely saves money: travel limits, sensor alignment, battery swaps, lubrication, track cleaning. These tasks have zero part cost, minimal tool cost, and no legal or warranty risk. A Santa Clarita homeowner who does these five maintenance tasks themselves saves $400-$600 per year in service calls, and that’s real money.
The scenarios where DIY loses money: anything involving the control board, motor, capacitor, or 120V wiring, because a botched install means paying for the part twice (once to buy it, once to have a professional redo it) plus the service call. A $35 DIY capacitor replacement that goes wrong doesn’t cost $35. It costs the capacitor, plus a new circuit board, plus the labor you could have paid once.
Do Your Own Diagnostic Work: How to Call a Tech with Specifics
You don’t have to fix the gate yourself to save money. You just have to tell the technician what’s actually wrong, so they show up with the right part and the right tool. Here’s a diagnostic sequence that takes most Santa Clarita homeowners about 20 minutes:
- Note the exact symptom. Not “it’s broken.” Write down: does the gate not open at all, open but not close, open halfway and stop, or run but grind? Does it happen every time or intermittently? Intermittent faults point to wiring or sensors; constant faults point to motors or boards.
- Check power. Is the opener plugged in? Is the outlet live (plug in a lamp or phone charger)? Is the breaker tripped? Is the emergency release pulled? In our experience, 15% of “dead gate” calls in Santa Clarita are a tripped breaker or a pulled release lever that nobody remembers pulling.
- Listen. Does the motor hum but not move? That’s usually a capacitor. Does it click but not run? That’s a board relay or a limit switch. Does it run but the gate doesn’t move? That’s a chain, belt, or coupler failure. Knowing these sounds saves a diagnostic service call.
- Check the photo-eyes. Blinking lights mean misalignment or obstruction. Solid lights mean the sensors are fine and the problem lies elsewhere.
- Test the remote versus the wall button. If the wall button works but the remote doesn’t, it’s a remote or receiver issue, not the opener. If neither works, it’s the opener or power. This one test eliminates half the possible causes.
- Check the keypad. If you have a keypad and it doesn’t work but the remote does, the keypad needs reprogramming, which is a 5-minute fix the technician can do over the phone if you have the master code.
When you call, say what you found. “The gate opens fine but reverses immediately, photo-eyes are solid green, and it happens every time.” That’s five times more useful than “my gate is weird.” A technician who knows that knows they’re bringing a limit switch, not a control board, and you avoid paying for diagnostic time.
The DIY Gate Repair Toolbox: What You’ll Actually Need
If you’re going to handle the approved DIY tasks, here’s the complete tool list. Nothing exotic, nothing you can’t find at any Santa Clarita hardware store, and the total investment is under $60 for most people.
- Screwdrivers: a #2 Phillips and a medium flathead. $8 each. The flathead adjusts limit screws; the Phillips opens battery compartments and remote cases.
- Socket set with metric and SAE: gate hardware in the U.S. mixes both standards, because different manufacturers source from different suppliers. A 3/8-inch drive set covering 8mm to 19mm and 5/16 to 3/4 handles 95% of gate bolts. $25.
- Level: a 9-inch torpedo level for checking gate sag and sensor alignment. $12.
- Multimeter: only if you’re doing diagnostics beyond the approved DIY list. A basic digital multimeter checks outlet voltage and continuity. $25. Don’t buy one if you’re only doing travel limits and lubricating.
- White lithium grease: a spray can. $8. Use it on hinge pins, roller bearings, and chain links. Not on electrical components, not on the track surface itself (it attracts dust, which becomes grit in Santa Clarita’s dry conditions).
- Assorted zip ties and electrical tape: for securing loose low-voltage wiring after you’ve adjusted sensors. $10 total.
That’s the whole list. You don’t need a welder, a torque wrench, a chain breaker, or any of the specialty tools that gate professionals carry. The moment a repair needs a tool that’s not on this list, that’s the moment the repair has crossed the line into professional territory.
Common Mistakes to Avoid
- Spraying WD-40 on everything. WD-40 is a water displacer and degreaser, not a lubricant. It strips the grease that was already on your hinges, and the gate gets louder within a week. Use white lithium grease instead.
- Adjusting the force setting to “fix” a reversing gate. If the gate reverses because the photo-eyes are misaligned or a roller is binding, cranking up the force setting forces the gate through whatever is obstructing it. That’s how children and pets get pinned. In California, a gate that closes on someone because the force setting was improperly adjusted is a liability nightmare for the homeowner who adjusted it.
- Buying a universal remote before checking compatibility. Not all universal remotes work with Ghost Controls or DoorKing openers, especially older models. You’ll spend $30 on a remote that either doesn’t program or loses programming every week, and then you’ll pay for the correct remote anyway.
- Ignoring the emergency release. The red handle or keyed release on your opener disconnects the gate from the motor so you can open it manually. If the gate is stuck closed and you yank on it hard enough, you’ll damage the motor gears. Pull the release first.
- Assuming a new keypad is plug-and-play. Keypads for Viking, Linear, and DoorKing systems need to be programmed to the receiver’s existing code. If you buy a new keypad without knowing whether your opener uses rolling code or fixed code (an older but still common setup), you may end up with a keypad that can never work with your system.
- Waiting until the gate fails completely to service it. A gate that’s been grinding, sticking, or slowing down for three months is telling you something. The $120 fix you ignore today is the $500 repair you’ll need in a month. Santa Clarita homeowners who service their gates when the first symptom appears spend less over the life of the gate, period.
- Not checking the “manual” for your specific model. “The manual” is not generic advice. A LiftMaster LA400 has different limit adjustment procedures than a Viking F-1 or a Mighty Mule MM571W. If you can’t find your printed manual, the model number is on a sticker on the opener itself, and every manufacturer posts PDFs online.
When to Call a Professional
Call a professional when the repair involves the control board, the motor, the capacitor, the transformer, the 120V wiring, or any welded structural component. Call a professional when your opener is under warranty and you don’t want to void it. Call a professional when the gate is attached to a masonry column and the column shows cracks, because that’s a structural failure, not a gate failure. Call a professional when the problem is intermittent and you can’t reproduce it, because intermittent electrical faults are the most frustrating to chase and the least DIY-friendly. Warden Gate Repair Santa Clarita offers free estimates for gate repair in Santa Clarita – call (661) 425-9011 and you’ll get a written price before any work starts. No diagnostic service charge on repairs we perform, and every job carries a written guarantee.
Frequently Asked Questions
Gate repair in Santa Clarita typically costs $85 to $550 depending on the component. Simple fixes like travel limit adjustments and photo-eye realignment run $85-$120 as a service call. Board replacements run $250-$450. Motor replacements run $350-$600. Welded hinge repairs run $250-$400 per hinge. Any reputable company will give you a written price over the phone before any work starts. Call Warden Gate Repair at (661) 425-9011 for a free estimate with specific numbers for your gate.
You can repair the mechanical and low-voltage parts of an electric gate yourself – travel limits, photo-eyes, remote batteries, and lubrication are all safe and legal DIY tasks. You should not repair anything involving the control board, motor, capacitor, transformer, or 120V wiring, because California requires a licensed C-61/D28 contractor for that work and your opener’s warranty will be voided. See our Electric Gate Repair in Santa Clarita page for what professional service covers.
Any internal electrical repair performed by an unlicensed person voids the warranty on LiftMaster, Viking, and Mighty Mule openers, along with most other major brands. The warranty language specifically excludes “repairs or alterations made by anyone other than an authorized service provider.” Mechanical DIY tasks like limit adjustments and lubrication do not void the warranty.
No, routine gate repair and maintenance doesn’t require a permit in Santa Clarita. However, new gate installations over 7 feet tall, opener installations requiring a new dedicated circuit, and structural modifications to gates attached to masonry columns typically do require a permit. Electrical work on the line-voltage side of an opener must be performed by a licensed contractor.
A bad gate opener motor usually hums without moving the gate, or runs briefly and shuts off due to thermal overload. If the motor is silent, it’s more likely a power issue, a blown capacitor, or a failed control board. If the motor runs and the gate doesn’t move, the problem is the chain, belt, coupler, or gears. Once you’ve identified the symptom, call a gate motor repair specialist with your findings, and they’ll bring the right part.
A quality gate opener in Santa Clarita lasts 8-12 years with regular maintenance, and 5-7 years without it. The dry climate is actually kinder to electrical components than coastal humidity, but the temperature swings between Santa Clarita summers and winters stress solder joints on control boards. The homeowners who get the most life from their openers are the ones who lubricate hinges twice a year and don’t ignore early warning signs.
The Bottom Line
The DIY-vs-professional decision for gate repair in Santa Clarita comes down to three questions. Is the task on the safe list (limits, sensors, batteries, lubrication, tracks)? Is the task legal for a homeowner to perform (no line voltage, no structural modification)? Does the task preserve your warranty (no internal electrical access)? If the answer to all three is yes, grab your screwdriver and save yourself $100. If the answer to any one is no, the professional route costs less in the long run, and it keeps you, your family, and your warranty coverage intact. Knowing which is which is the whole game, and now you know. For more guides & resources, visit our blog.
Written by Cole Rafferty, Owner at Warden Gate Repair Santa Clarita, serving Santa Clarita since 2008.
See the difference
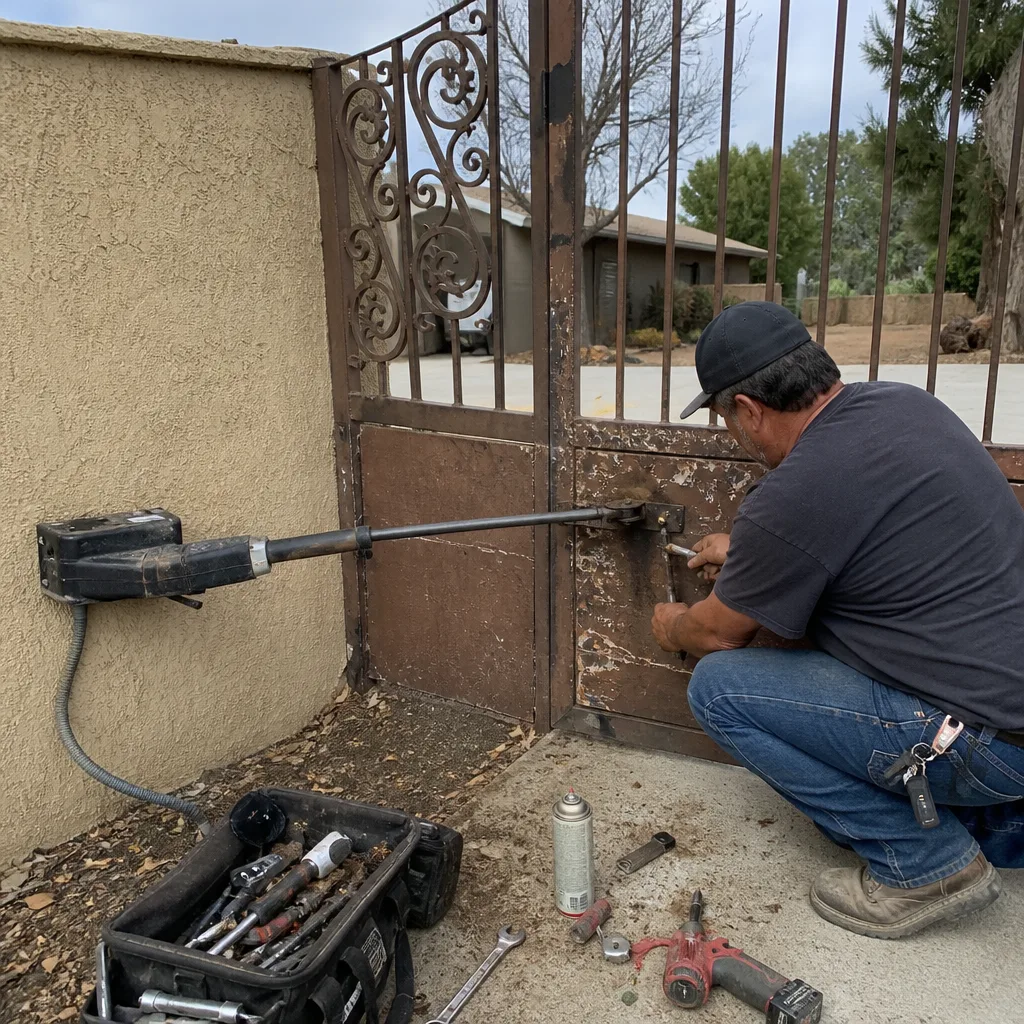 Before
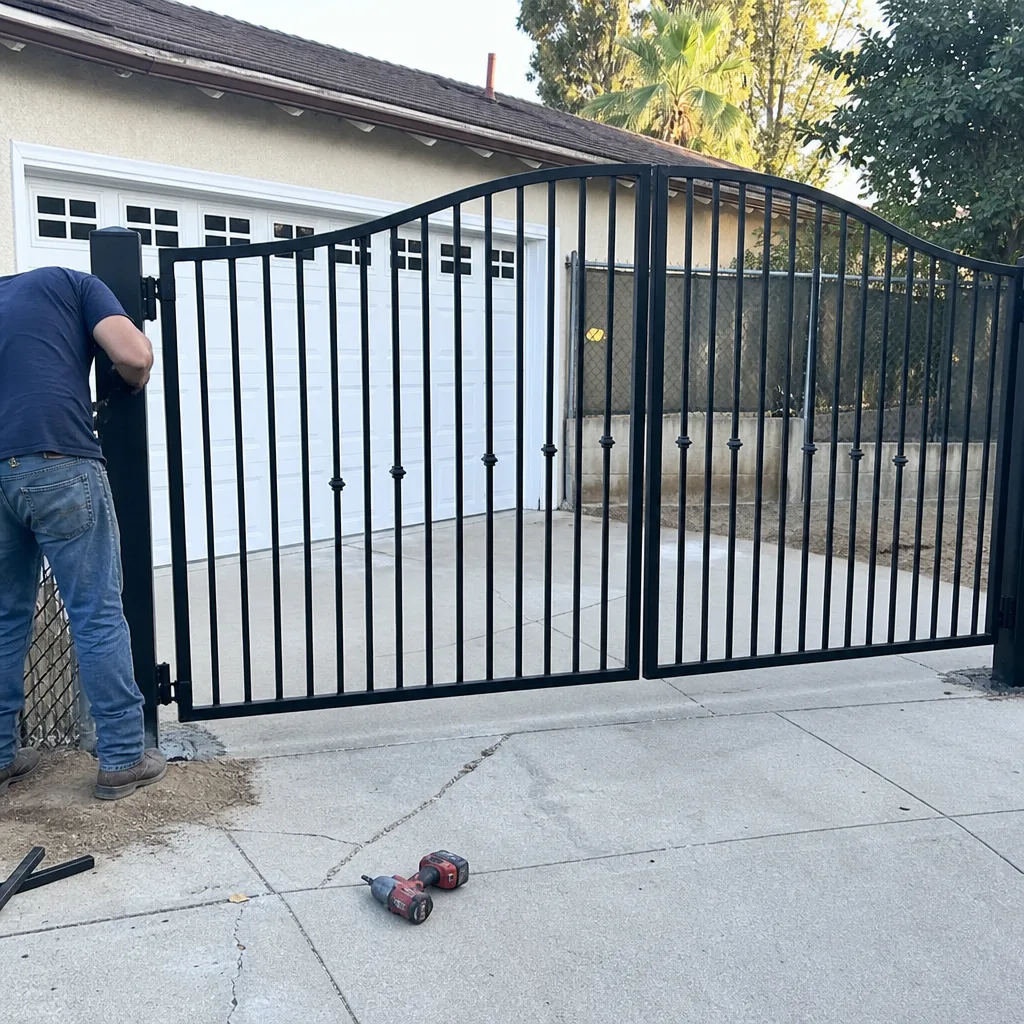 After
After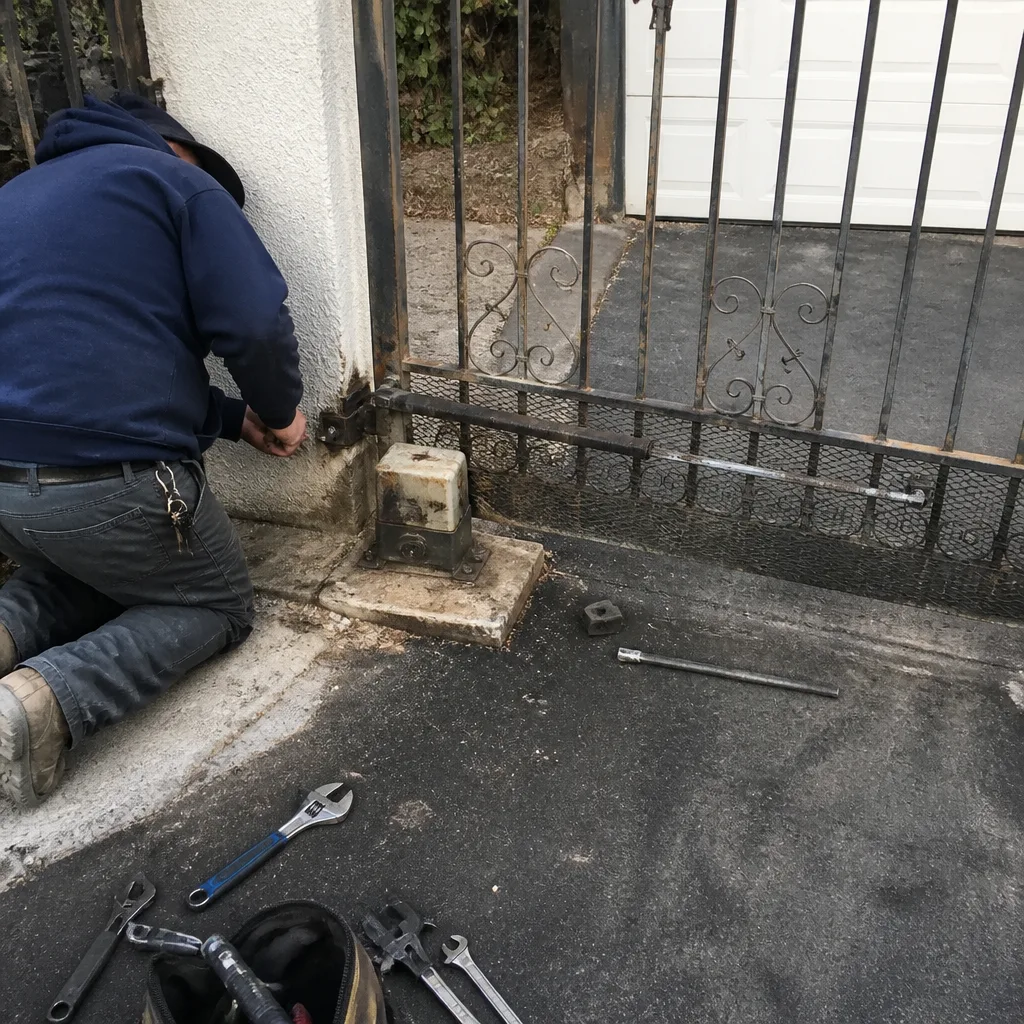 Before
 After
After Before
 After
After